
Setup Your Menus
To accept orders, you need to set up your menu. You can check this guide in creating all your menus.
Setup Your Menus
To start, go to Home Screen, press Back Office on Control
1. Make a New Group
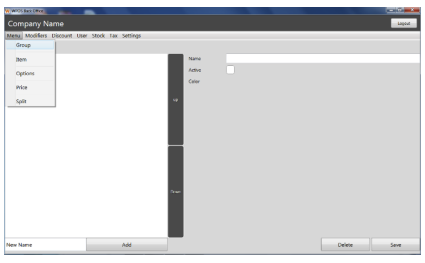
Go to "Menu/Group" , then type the name of your new Menu Group (for example Pizza), and press "ADD"
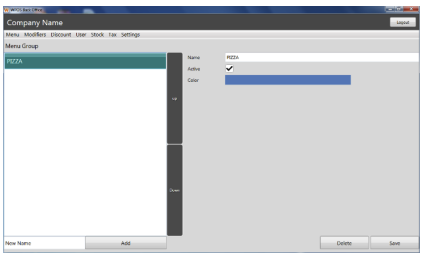
Select the new Group “PIZZA” Click in Active tick box to activate it. You can change the colour of the button. For any changes you have made press “Save” to save it. You can also change position by pressing buttons UP or DOWN
2. Add New Item
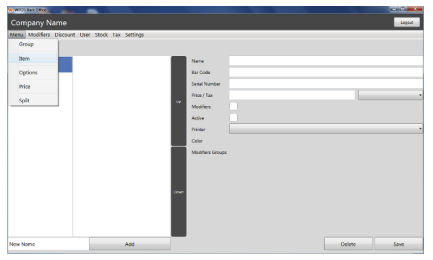
Go to “Menu / Item” Select Group that you set up in step 1 (PIZZA) Type the name of your new item (for example MARGHERITA) Press “Add”
Select the new Item “MARGHERITA” Click in Active tick box to activate it. You can change the button colour, set the preparation printer, tax, barcode or activate the modifiers. If the item has more than one size option (for example small, medium or large pizza), keep prize as $0, this will be set up later.
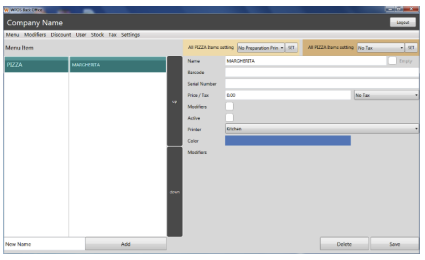
For any change you have made press “Save” to save it You can also change position by pressing buttons UP or DOWN
\ Note: You can add empty space between Items for easier navigation in Order menu. To enter empty space add new Item, click in Empty tick box and press “Save”.
3. Add Options (Sizes) to Items
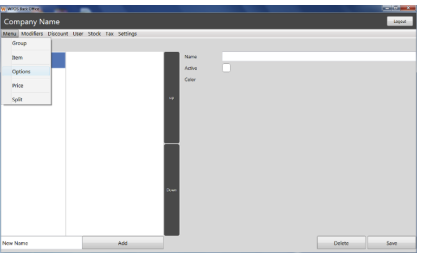
To add Option or Size for Group go to “Menu / Options” Select Group (PIZZA) Type the name of your new Option (for example SMALL) and press “Add”
Select the new Option “SMALL” Activate it by ticking the activate field You can also change the colour Press “Save”
4. Set price for each Item Option
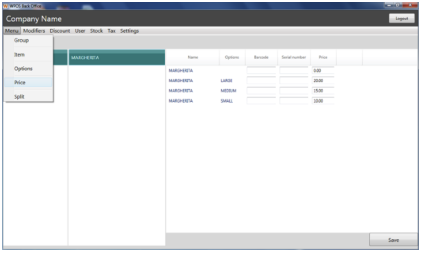
Go to “Menu / Price” Type the price for each Item and each Option and press “Save”
5. Add Split Menu Option
Here you can merge two items together (for example half & half Pizza)
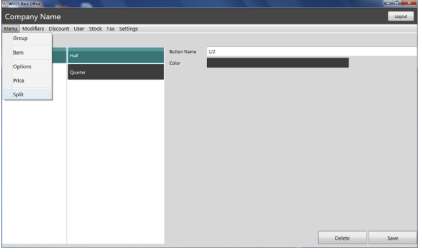
- To make split option go to “Menu / Split” Type Button Name (1/2) set colour and press “Save”
- Set the extra surcharge for (1/2) pizza in Settings/General “Split Item Extra” (Merged Item price will be Sum of 1/2 price of each Item plus Split Item Extra charge)
6. Add Modifier to Item
Make new Modifiers Group
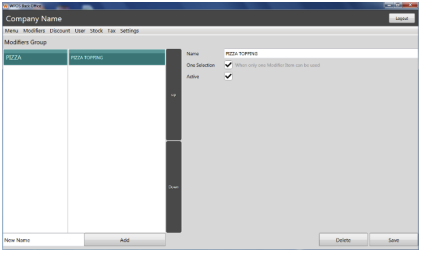
- Go to “Modifiers / Groups” Select Menu Group where is the item you want to add modifiers to (PIZZA) Type the name of your new modifier group (example PIZZA TOPPING) and press “Add”
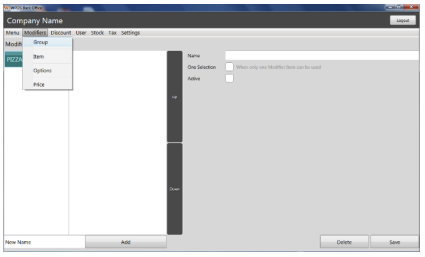
- Select the new Modifier “PIZZA TOPPING” Click in Active tick box to activate it You can also activate One Selection option If you will have two or more modifiers items in one group and you want to allow only one modifier to be selected in order menu at a same time for one item Press “Save” to save it
Set up new Modifier Item
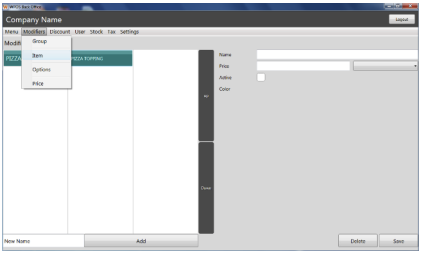
Go to “Modifiers / Items” Select modifier group (PIZZA TOPPING) Type the name of your new modifier (example OLIVES) and press “Add”
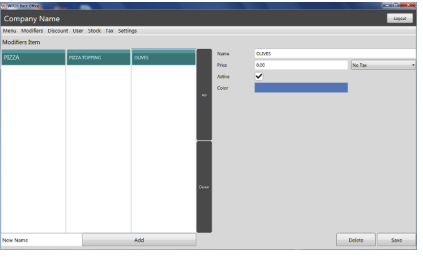
Select the new Modifier Item “OLIVES” Click in Active tick box to activate it You can also set the price or change the button colour Press “Save” to save it
Activate Modifier
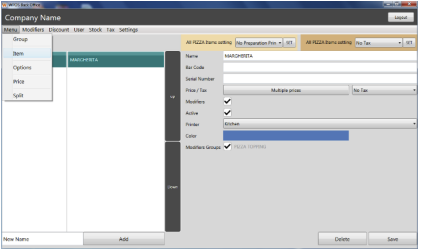
Go to “Menu / Item” Select Group (PIZZA) and Item (MARGHERITA) Activate modifiers by ticking the Modifiers field and ticking the desired Modifier group field . You can also change the button colour. Press “Save” to save it
7. Add Option to Modifier
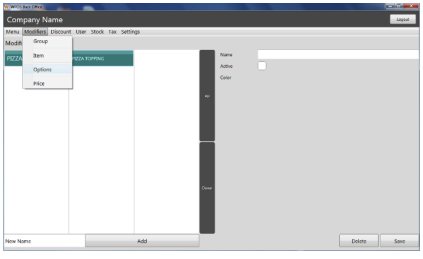
To set new option for modifiers go to “Modifiers / Options”
- Select modifier group (PIZZA TOPPING)
- Type the name of your new modifier option (for example NO) and press “Add”
- Select the new Modifier Option “NO”
- Click in Active tick box to activate it. You can also change the colour
- Press “Save” to save it
8. Set Modifier Price
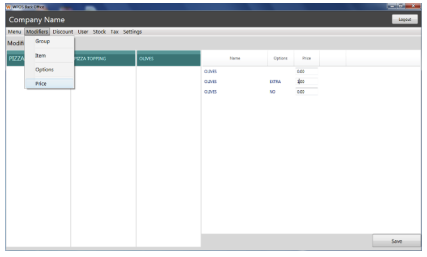
To set Modifier price go to “Modifiers / Price” Select Modifier Group Type the price for each Modifier Press “Save” to save it
Note
Get started at https://www.pushpos.com/
Still need help?
Ask a question and our team will pick it up. You can also email support@pushpos.com.